You have a story to tell and you want to record it. And you should! Millions of listeners purchase and download audiobooks every year and you deserve to be a part of that. The world is ready to hear what you have to say. Now is the time to record your work and put it into the world. But where do you begin?
This is a basic guide on the equipment required to record your audiobook at home. Your finished product will be your words recorded on your equipment in your voice and be your amazing creation.
How do you do this? Let’s jump in.
Computer
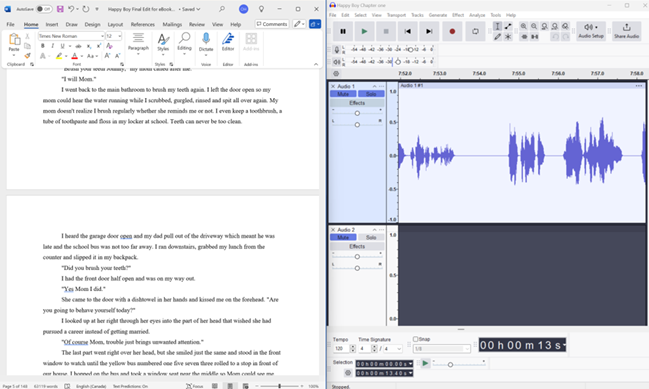
The first thing you will need is a laptop or desktop computer. I will come straight out and admit I am not an expert in any way when it comes to computers. I do know your computer doesn’t have to be fancy or expensive but it does need to be quiet. You can’t record while the cooling fan is running. I often place ice packs in a tea towel under my laptop to help keep it cool. I recently bought a new Lenovo laptop and the fan seems to run a lot but the ice packs help tremendously. I am not here to give advice on what computer you should use only you will need a basic one that can access the Internet and run a simple program. If you can have a second monitor or a screen big enough for split screen that helps enormously when editing.
Recording Space
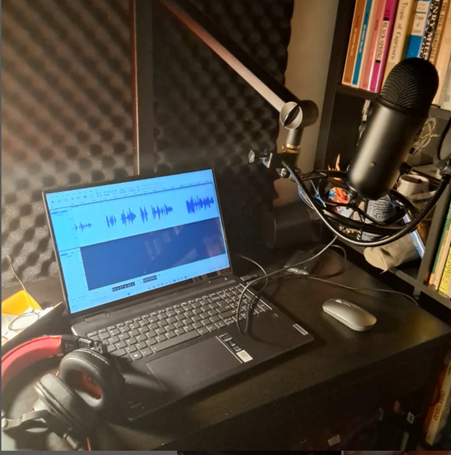
The right space is probably the biggest perceived hurdle for recording at home. But don’t despair! A closet, walk-in closet, small bedroom or den can all work just fine with a few tweaks. If you are really short on space then you can use the fort method. There are two variations of the fort method one is way more fun, but both are effective. The first version is to build a box around the microphone.
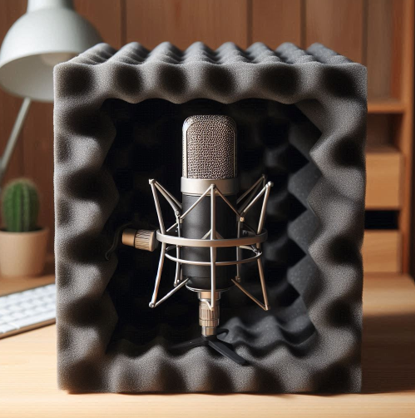
This picture is just to give you an idea of what I mean. By doing this you essentially capture your voice and minimize reverberations giving you a more consistent sound.
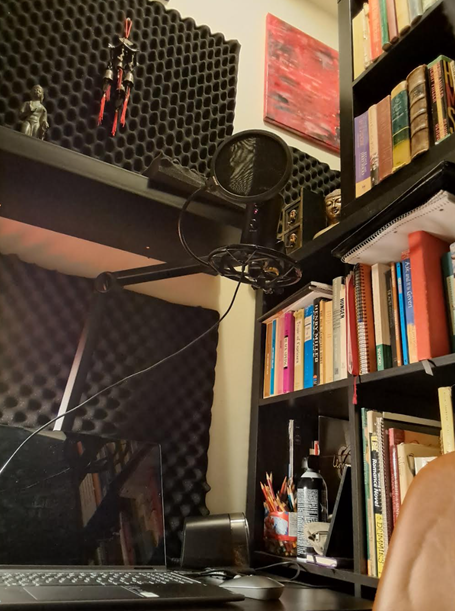
The second and much more fun way is to tap into your inner child and use blankets, quilts, pillows, furniture, clothes, rugs, carpets, or even a mattress to build a fort around yourself and the microphone to absorb sound and create a space conducive to recording.
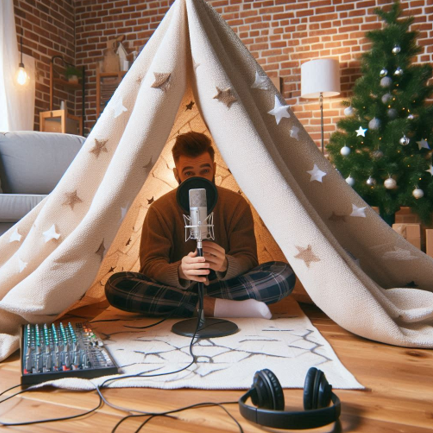
Again this picture is just to give you an idea of what I mean. Get creative! Take your time and experiment. Keep in mind sound bounces around, especially in corners and that is not what you want for a professional audio recording. Know that many audiobooks were recorded in a closet with the narrator surrounded by hanging clothes. As long as you are comfortable and can be consistent with your sound you can record your book.
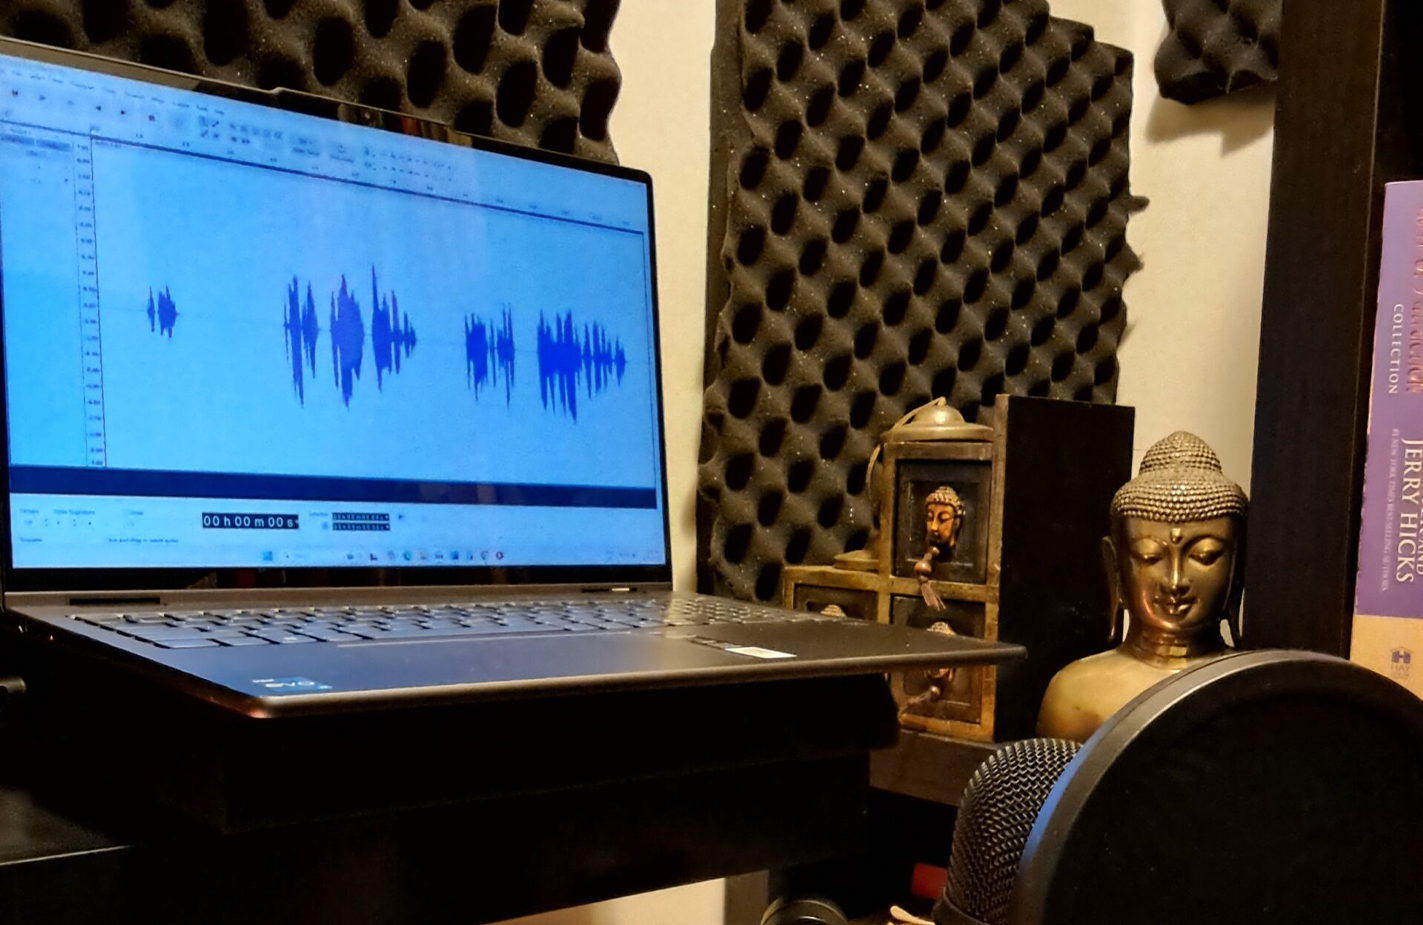
My space is a 5×5 room the relator called a den but it could just as easily be a closet. I am very grateful for the space though. I am able to fit a desk and a bookshelf in there and have enough room to read, write and record. The bookshelf provides sound absorption on one side and I have placed acoustic foam on the other walls and the ceiling. (more on acoustic foam later) The result is amazing and I have a space I am grateful for every time I sit down to record.
Don’t let a less than ideal situation stop you. Get creative with your space and record your work. The world needs to hear it.
Microphone
The next thing you need is a microphone. A quality microphone is essential for a quality recording. The good news is you can buy a great microphone that is more than adequate for your audiobook at an affordable price.
There are really two types of microphones to consider when looking for the right equipment to record your audiobook: a condenser microphone or a USB microphone. Both will do a great job but there are a few things to consider. A condenser microphone requires an audio interface. This means more cost, more equipment and more space needed to set up. A USB microphone plugs straight into your computer and you are ready to go. The condenser microphone generally has a higher sound quality, though there are USB microphones that provide great sound quality that is only outperformed by the higher-end condensers on the market. A condenser microphone has a wide range of features whereas the USB style is rather limited. However, for audiobook recording, you do not need everything a condenser can do.
As you can tell, I lean towards a USB microphone. Not that I have anything against a condenser microphone, I do want to add one to my studio at some point, but a quality USB microphone is more than enough to record a great audiobook. I also had a budget for building my recording space and purchasing equipment and the lower cost of a USB versus a condenser helped me stay on budget. What is a great USB microphone? Well, I’m glad you asked.
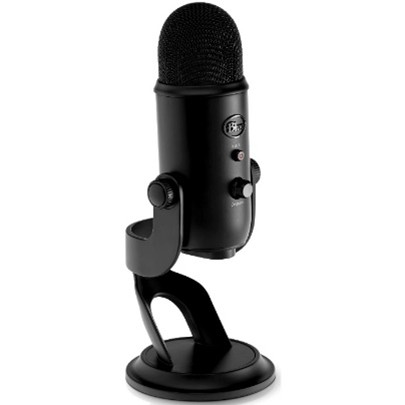
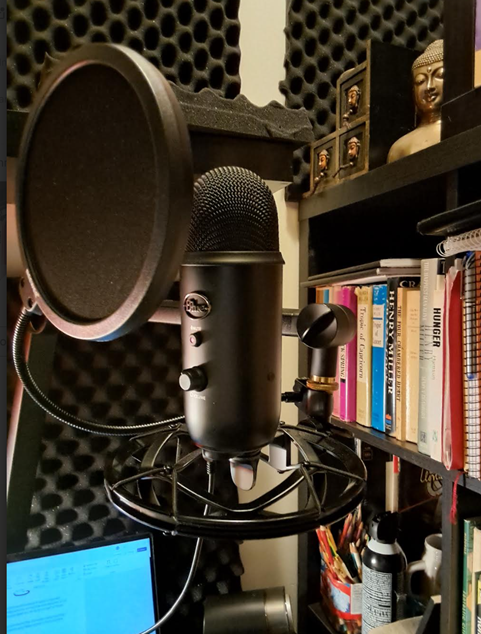
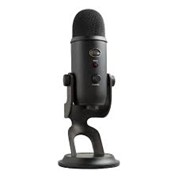
I highly recommend the Blue Yeti Microphone. The Blue Yeti has been an industry standard for many years. It is a high-quality USB microphone you plug straight into your computer or laptop and start recording instantly without the need for any drivers. It has a built-in headphone amplifier so you can hear your audio recording in real time without any latency. It is a well-rounded microphone that offers amazing value for the price point. It is the perfect choice to start your creative process and record your work.
Pop Filter
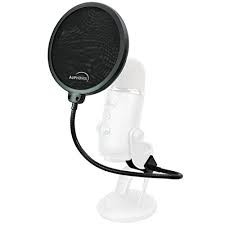
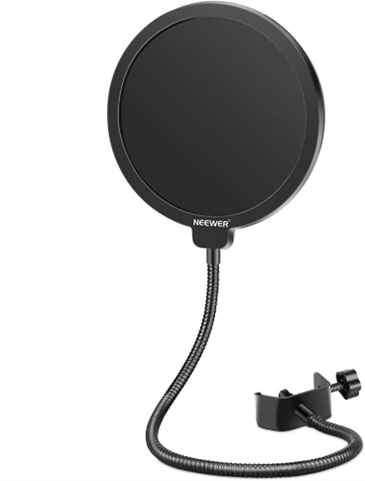
A pop filter is a mesh screen placed in front of a microphone to reduce or eliminate “popping” sounds caused by the forceful burst of air from plosive consonants like “p,” “b,” “t,” and “k”. These sounds are natural as you speak but can result in a “pop” or “thump” sound in your recording.
I use and recommend the Neewer microphone pop filter. It provides clearer recordings, protects my Yeti from saliva (yes it happens!) and it helps maintain a more consistent sound level.
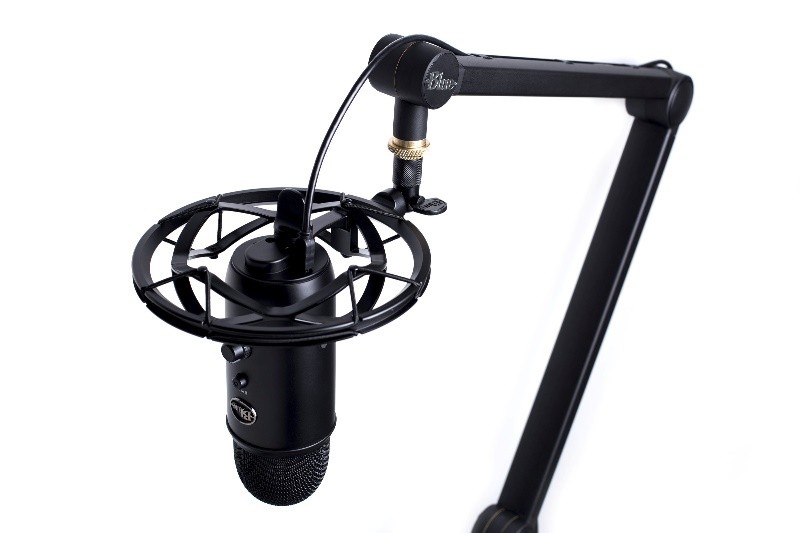
Boom Arm

Depending on your setup, you can use the desktop stand that comes with the microphone or a Boom Arm. I use a boom arm and attach it to my desk. I prefer to stand when I record but I sit when I am recording individual words or sentences as part of the editing process. The boom arm gives me the flexibility I need in my space.
There are a lot of different boom arms on the market. It is well worth the extra money to buy a quality boom arm. First, if you do go with the Blue Yeti microphone, it isn’t the Iightest microphone and the boom arm needs to support the weight and keep it in place. There is nothing more frustrating than trying to record and have your mic slowly droop from position. In audio recording consistency is key. There are already so many variables, so remove one of them with a quality boom arm. I use and highly recommend the Blue Compass Premium Tube-Style Broadcast Boom Arm. It is designed for the Yeti, is compatible with all standard shock mounts and has not let me (or my Blue Yeti) down once.
Shock Mount
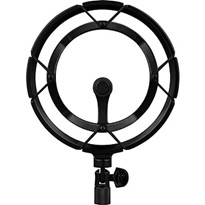
A shock mount is a microphone holder designed to prevent vibrations from reaching the microphone. Any and all extraneous vibrations will cause unwanted noise and interference in recordings. A shock mount isolates the microphone and reduces vibrations that are caused by movement and bumps. Using a shock mount will improve your audio quality and assist in creating and capturing a more professional recording.
I use the Logitech for Creators Blue Radius III Custom Shock mount. It has proven invaluable. It doesn’t help when the landscapers start leaf blowing outside my window or an airplane flies overhead but it’s very helpful with the inevitable bumps and nudges your arms and hands will make as you record your work.
Acoustic Foam
I want to take a moment to discuss acoustic foam. You may not need foam if you are setting up in your closet and are using clothes or blankets to absorb sound and dimmish reverberation. But if you have a dedicated space, installing acoustic foam will be a necessity.
I should also point out that acoustic foam and soundproofing are two very different things. Acoustic foam absorbs sound within a room and reduces echo and reverberation. Soundproofing is blocking all sound from either getting into or escaping out of a room. This is quite the task in a residential-type situation. I see a lot of misinformed reviews where someone purchases foam panels and after slapping them on the walls complains because they can still hear sound through the walls. Your space doesn’t need to be soundproof but it does need to absorb sound and mitigate unwanted reflections and reverberations.
When I first started researching and planning my recording space I envisioned wall-to-wall, floor-to-ceiling foam. I could imagine the blissful silence and perfect environment to record my books. Like most of us, I started my search on Amazon and saw a plethora of products. As I did the math, even with the cheapest products listed, covering the whole room would be rather expensive. Second, the less pricey products shipped in a compressed state, took days or longer to expand and carried with them awful chemical smells. Then, with a little more research I discovered you don’t need to cover every square inch of your recording space.
I went to a foam shop (actually called The Foam Shop) and purchased a 2”x60”x80” sheet of PRO eggshell foam from their Acoustimax series. The cost was $200 but I cut the sheet into various sizes and strategically placed them in my recording space. The result was spectacular!
Here are the key points I focused on when placing foam in my space.
Reflection Points: These are the spots where sound waves initially bounce off surfaces before reaching your ears. Placing foam at these points significantly reduces unwanted reflections and improves clarity.
Ear Level: Focus on placing foam at roughly ear level, whether you’re sitting or standing. This is where most of the sound interaction occurs.
Prioritize Corners: Corners are notorious for bass buildup, which can make a room sound boomy. Strategically placed foam can help absorb these low frequencies.
Spacing: While it might seem tempting to put all your foam in one spot, spreading it out is more effective. This helps to treat a wider range of frequencies. Also, leave some space between panels to allow them to absorb sound more effectively.
My acoustic setup is not entirely foam. I also have a shelf of books, a few paintings and a heavy blanket I hang over the door to absorb sound when I am recording. Whatever your space, think of sound traveling away from you and you want to stop or at least lessen that sound bouncing around.
Headphones

Personally, I have not (yet) spent a significant amount of money on headphones. I purchased a pair of OneOdio A71 wired over-ear headphones for around $40 on Amazon. So far they have been fantastic and done exactly what I need them to do.
When considering headphones you will come across a few different types you should be aware of:
Wired – These are headphones with a cable running from the headphones that you plug into your microphone or computer. This is what you want when you are recording.
Bluetooth – Bluetooth headphones are great for listening to an audiobook but not something I would recommend when recording your audiobook. There will be a lag in the time you speak to the time you hear yourself in the headphones and the Bluetooth signal could introduce unwanted interference and noise into your recording.
Closed back – Closed back headphones stop sound from spilling out and potentially making its way into your recording. They provide an isolated sound that, though prevents distractions, can create a much less natural sound in your head which could affect the decisions you make with your voice while recording.
Open back – Open back headphones allow for a more natural sound but sound leakage can be a problem. Sound can potentially escape the headphones and be picked up by the microphone.
Ultimately, headphones are a personal decision depending on your preference. I began with a simple choice and so far my OneOdio A71s have been great.
Audacity
Once you have all the right equipment, all that is left is a platform to record, edit and prepare your work to be heard by the world.
Audacity is popular, free, open-source software that is perfect for recording and editing your audiobook. Audacity is available to download as a desktop app for Windows, macOS and Linux. Here is the link: https://www.audacityteam.org/
Audacity provides everything you need to record, edit and master your audiobook. With Audacity you can record high-quality audio with support for all types of microphones. Audacity also has tools to minimize background noise as well as editing tools so you can cut, copy paste and delete audio segments exactly like you would in Microsoft Word. There is a full range of built-in effects like equalization, compression, pitch and tempo changes, and normalization that will help ensure you meet industry standards. There are specific standards all Audiobooks must meet in order to be listed on Amazon, Spotify and other platforms and Audacity has a plugin just for that. The ACX Check plugin is a dedicated plugin to ensure your audiobook meets all technical requirements.
Audacity is quite easy to learn but, like everything new, there is a bit of a learning curve. Don’t worry though it isn’t too steep and there is lots of help. There is a vibrant and welcoming community supporting audacity and plenty of tutorials online.
What I did, and I highly recommend it as it saved me hours of trial and error, is I purchased a course on Udemy. Search for Audacity at https://www.udemy.com/ and find a course that suits your time and budget. An introductory course to Audacity will help you immensely. It’s well worth it.
A quick and crucial Audacity tip I learned the hard way: Do not update Audacity in the middle of a project. I did this and though the changes were amazing, it altered the settings and I had a hard time getting them back to where I had them before the update. It was a very stressful time for me in the middle of a project. My advice, wait until your project is finished and then update Audacity to the latest version.
Checklist – Everything you need to get started:
- A laptop or computer
- A Space to Record
- Microphone
- Pop Filter
- Boom Arm
- Shock Mount
- Acoustic Foam
- Head Phones
- Audacity
- A willingness to learn and have fun
Conclusion
There you go! All you need to get started and record your audiobook at home. Have fun. Enjoy the process and believe in what you have to say. The world is ready to hear it.
OMH